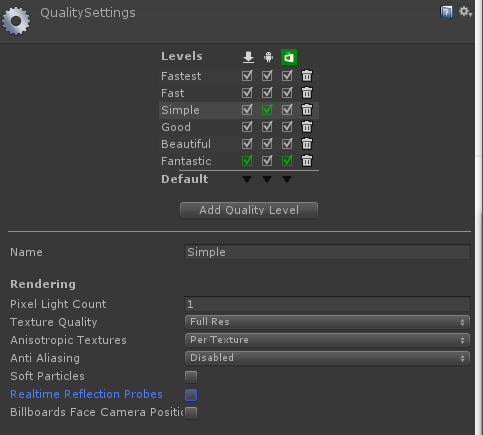
リアルタイム更新のReflection ProbeをAndroid実機にビルドした際に上手く動かなかったので対処をメモ
Unityでアナグリフ画像を生成するSuper3DMakerをリリースしました

Super3DMakerをリリースしました!
スマホのカメラでアナグリフな画像を作れるSuper3DMakerをリリースしました
アナグリフ画像を生成するコードについて
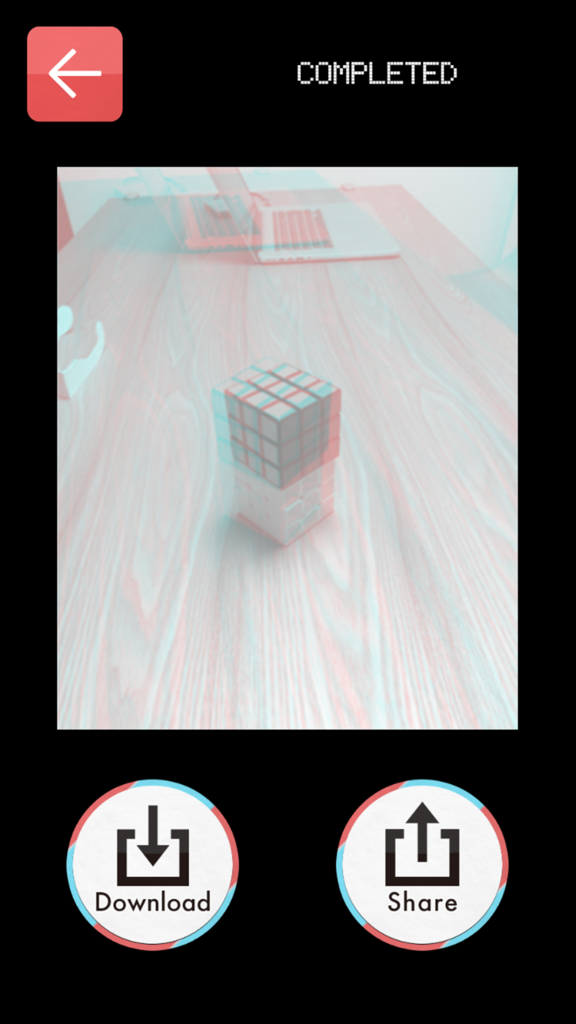
Texture2Dのピクセル情報を取得し、アナグリフ画像に変換しています。
処理的にはこちらの画像処理を行います。
2017/08/09 説明とコードを修正
モノクロエフェクトをかけた後に、左目用画像の赤色を抜き、右側画像に緑色と青色を抜き、色の平均値をとって色を選びます。
アナグリフな画像を生成するコードはこんな感じ
for (int i = 0; i < length; i++) {
    // 左目用画像の平均値
    float left_average = (m_LeftCaptureColor [i].r + m_LeftCaptureColor [i].g + m_LeftCaptureColor [i].b) / 3;
    var left_color = new Color (left_average, 1f, 1f);

    // 右目用画像の平均値
    float right_average = (m_RightCaptureColor [i].r + m_RightCaptureColor [i].g + m_RightCaptureColor [i].b) / 3;
    var right_color = new Color (1f, right_average, right_average);

    // 平均を出力
    resultColors [i] = (left_color + right_color) / 2;
}
ChainerをWindowsにインストールする手順メモ
Windowsで仮想環境(Ubuntu)を作成し、そこでChinerを動かすまでのメモです
手順
1. Ubuntuインストールする
(1) VirtualBoxのインストール
下記リンクのダウンロードリンクから[WindowsHosts]を選択しインストールする
Downloads – Oracle VM VirtualBox
(2) UbuntuのROMのダウンロード
下記リンクからubuntu-ja-16.04-desktop-amd64.iso(ISOイメージ)をダウンロードする
https://www.ubuntulinux.jp/download/ja-remix
(3) VirtualBoxへUbuntuをインストール
a. VirtualBoxを起動
b. [新規]->[エキスパートモード]を選択
c. 各種項目入力

d. 仮想ハードディスクは32Gに設定し環境作成
e. 起動を押す
f. 初回起動時に起動ハード・ディスクの選択がでてくるので、(2)でダウンロードしたISOファイルを選択する
g. 起動が始まり、[Ubuntuをインストールを選択]->[Ubuntuのインストール中にアップデートをダウンロードする]にチェックを入れる
h. そのままインストールを進める
2. Chainerのインストール
各種ソフトウェアをインストール
$ sudo apt-get install python-pip
$ sudo pip install --upgrade pip
$ sudo pip install chainer==1.24.0
$ sudo apt-get install python-matplotlib
3. Chainerを動かしてみる
(1) Chainerの公式サンプルのダウンロード
$ wget https://github.com/pfnet/chainer/archive/v1.24.0.tar.gz
$ tar xzf v1.24.0.tar.gz
(2) サンプルプログラムを実行
$ python chainer-1.24.0/exammnist/train_mnist.py
こんな出力がでていれば成功です
GPU: -1
# unit: 1000
# Minibatch-size: 100
# epoch: 20

Downloading from http://yann.lecun.com/exdb/mnist/train-images-idx3-ubyte.gz...
Downloading from http://yann.lecun.com/exdb/mnist/train-labels-idx1-ubyte.gz...

...

19          0.00946827  0.104435              0.997167       0.9811                    550.189
20          0.00728352  0.0844704             0.99795        0.9846                    582.161
以上です。
参考文献
Interface 2017年8月号

Interface(インターフェース) 2017年 08 月号
- 出版社/メーカー: CQ出版
- 発売日: 2017/06/24
- メディア: 雑誌
- この商品を含むブログを見る
Cross Platform Native PluginsでXcodeのエラーが出た時の対処メモ
Cross Platform Native Pluginsを使っている状態のUnity5.6でiOSビルド後にXcodeでエラーがでるみたいです。
エラー内容
Implicit declaration of function 'ConvertToNSString' is invalid in C99 CPNPCloudServicesBinding.m.
Implicit delcation of function 'FromJson' is invalid in C99 CPNPCloudServicesBinding.m
Implicit delcation of function 'CStringcopy' is invalid in C99 CPNPCloudServicesBinding.m
Implicit delcation of function 'ToJsonCString' is invalid in C99 CPNPCloudServicesBinding.m
Implicit delcation of function 'NotifyEventListener' is invalid in C99 CPNPCloudServicesBinding.m
参考リンク
解決方法がCross Platform Native Pluginsのフォーラムに記載されてあります。
http://www.voxelbusters.com/products/native-plugins/forum/index.php?p=/discussion/946/unity-5-6-compile-errors-in-xcode
手順
1. 下記からPostProcessBuild.csをダウンロード
https://drive.google.com/file/d/0Bx892xLNWQ7sbmJDbktzTXhEYnM/view
2. 対象のプロジェクトのファイルを置き換え
Standard Assets/VoxelBusters/NativePlugins/Editor/PostProcessBuild.csをダウンロードしたファイルに置き換え
3. ビルドし直す
ビルドし直すとエラーがなくなります。

